FAQ: How to Connect PGAdmin4 to DB through SSH Tunnel with Public Key Authentication
This post is inspired by my clients who asks me this question very often. At first, I was surprised by this question. I use TablePlus and it is an easy journey to configure connection in it . But after I tried with PGAdmin I realised that there was a real issue with it. In this article I’m going to describe the complete process and point my readers to pain points of it.
Step 1: Generate Public Keys for SSH Connection
At first glance, generating ssh public key looks trivial. But as I discovered PGAdmin 4 doesn’t support all key formats. I’ve never had issue with my key, because it was generated rather long time ago.
But my clients had. I usually ask them to follow tutorial by GitHub. But lastly they accidentally began to get the error from PGAdmin as in the picture below.
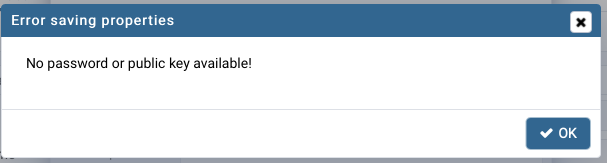
As I’m a curious person, I decided to discover the issue. As a result of my small investigation I found that ssh-keygen switched to the new key output format. This format was not supported correctly by PGAdmin. Some time ago when I was generating my key pair ssh-keygen was generating key in PEM format by default. But nowadays things changed and the key default format is RFC4716.
So I recommend you to generate key pair with the following command:
ssh-keygen -t rsa -m PEM -b 4096
Here
- -m PEM is the most critical part that sets the key output format,
- -b 4096 is the length of the key,
- -t rsa is the crypto-algorithm used for key pair generation.
During the process the utility asks you to type path to store the key in and your password twice. I strongly suggest you to set the password as it adds security for your key pair.
Now you have your key pair ready. Send it (file that has “pub” extension or text from it) to admin of the server you want to connect to. He will add it to your authorised keys on the server.
Never share your private key (one without “.pub” extension) with anyone!
After your key is there try to connect to the server with ssh. It should look like this:
ssh -i /path/to/your/private_rsa -o IdentitiesOnly=yes user@server
If it connects, you are ok, disconnect and let’s go forward, if not ask your admin for help.
Step2: Configure PGAdmin4
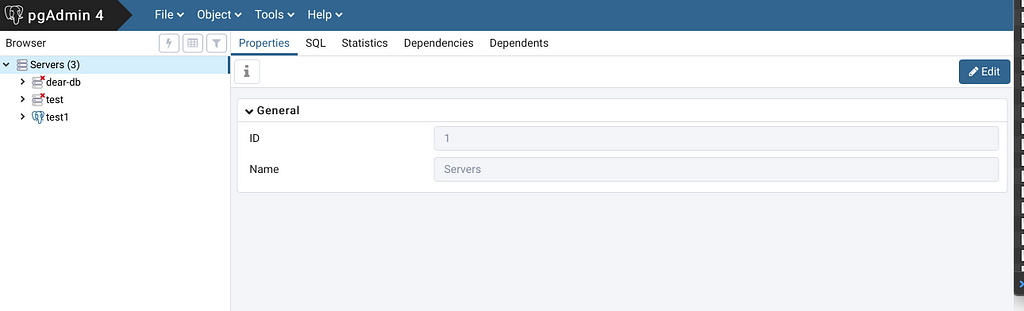
Start PGAdmin. Then click on “Servers” in the “Browser” at the left. After that, go to “Object” -> “Create” -> “Server” in navigation menu at the top. If you follow me correct, you’ll see the window as in the image below.
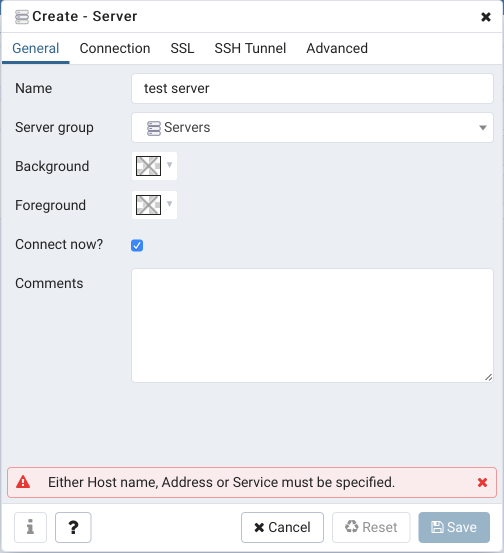
Input the name of the connection which you want to see in server tree into “Name” field. All the rest fields could be left as is if you don’t know what you are doing.
Switch to “Connection” Tab.
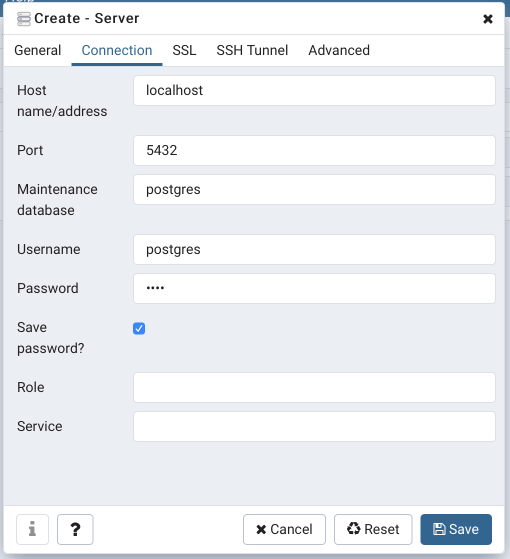
Here you need to input you DB connection data. As you tunnel your connection, the “Hostname” field should be either “localhost” or “127.0.0.1”. “Port”, “username”, “password” and “Maintenance database” fields depend on your exact DB connection settings and should be provided by DB admin.
Switch to “SSH Tunnel” Tab.
Here you need to enable “Use SSH tunneling” and switch “Authentication” to “Identity file”.
Put your server IP or hostname into “Tunnel host” field. “Tunnel port” is usually as default if your admin haven’t mentioned it for you. “Username” field is your ssh username (those you used when tested ssh connections in previous step).
Push “…” button to the right of “Identity file” field. Choose your private key file (one without “.pub” extension). Or you can type path to the file into “Identity file” field by hand.
Enter password for your key into “Password” field and check “Save password?” checkbox if you are ok with saving your password by PGAdmin4.
Click the “Save” button and if it connects correctly you are done.